Sunlight or Shade - Part 2 – You’re taking an outdoor portrait and want your subject in the shade. But how do you find the best shade?

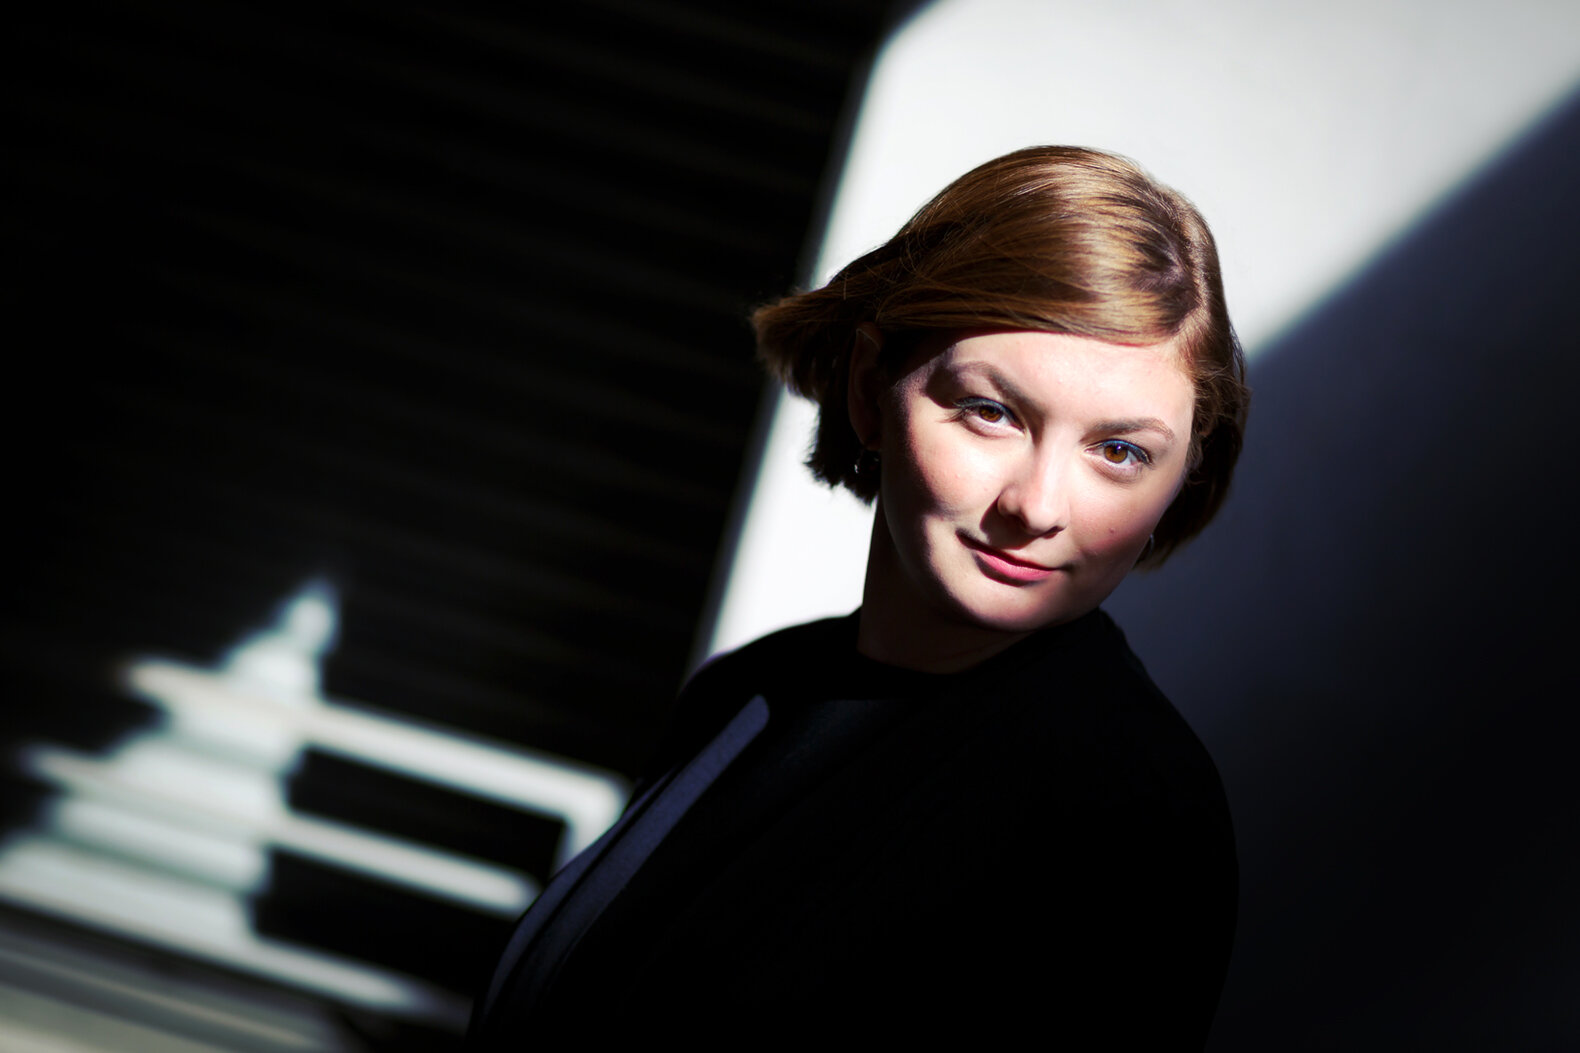
Rotating in the same spot in a shaded area shows that not all shade is the same! Which one do you think has the best lighting?
I shared in my previous post (Sunlight or Shade - What do YOU think? Part 1) that shade creates an even, soft light source with minimal shadows. So, should you just find any shady spot and stick your subject there?
Mmmm … no.
Truth is, not all shade is the same!
· Shade is created when some form of shelter (tree or building) blocks direct sunlight.
· Shaded areas are not absent of light. They are absent of direct sunlight.
· Shade is lit by sunlight that bounces off other surfaces (walls, sidewalk, sky) resulting in a softer form of light.
· Some parts of the shade may get more bounced light than others, creating different qualities of light … some which will enhance your photo more than others.
So then, how do you find good shade for portraits? Glad you asked!
Simply … look at your hand. (Say what?!)
Here’s what to do:
Step 1: Find the shady area where you want to photograph your subject -- under a tree, in an archway, in the shade of a building. (For the most consistency in your image, find a location where your subject can be fully shaded with no sunlight directly hitting them.)
Step 2: When in the shade, extend your arm straight out in front of you and turn the palm of your hand so it is facing you.
Step 3: Observe the light on your palm.
Step 4: Remaining on the same spot (while still looking at your palm), slowly rotate and notice how the intensity of light changes on your palm. You will see your palm get brighter and less shadowy in some directions and darker and more shadowy in others. It may be subtle, but you will notice a difference. (Observing how the light looks on your palm is a great way to gauge how the light will look on someone’s face.)
Step 5: Stop when you notice your palm is the brightest. Place your subject in that exact location.
Step 6: Have your subject face the same direction your palm (not the back of your hand) was facing. So, if your palm was facing north when you noticed that it was the brightest, have your subject face north.)
Step 7: Congratulations! You’ve found good shade for your portrait!
Step 8: If you move to another part of the shady area or another location ... rinse and repeat.
Now … just because you found good shade doesn’t mean you have found the best place to take the portrait. As the commercials of old would say, “But wait, there’s more!”
Stay tuned. More on this subject coming up.
Want to learn more about how to take great photos? I offer individual and group lessons. Call or email me today.
Dana Attebery Photography – Serving you through teaching, portraits, headshots, product photography, commercial and editorial photography, 360-virtual tours, and fine art images.
info@danaphotography.com 626-374-3638 danaphotography.com