PROFESSIONAL PHOTOGRAPHER VS. STOCK IMAGES
Imagine this…
You buy a nice picture frame to use for a family portrait. The frame is sold with a nice photo of a family already in it. For convenience sake, you proudly display this generic photo in a prominent place in your home. After all, you still haven’t taken the family portrait, it’s going to take time to coordinate everyone’s schedule, and it’s going to cost more than the photo in the frame. Why not just use this one?!
Someone comes to visit and remarks, “What a neat portrait of your family!” You reply, “Well … that’s not really my family.”
The photo in the frame - though nice - doesn’t reflect you! If doesn’t show the uniqueness of your family. It doesn’t reveal anything about you. In fact, it tells a story that isn’t really true. Sure, it shows generic “people”, but someone wanting to know more about you and your family, would gain none of that from that stock image. In fact, they may actually start to wonder a little bit about you and what you might be hiding.

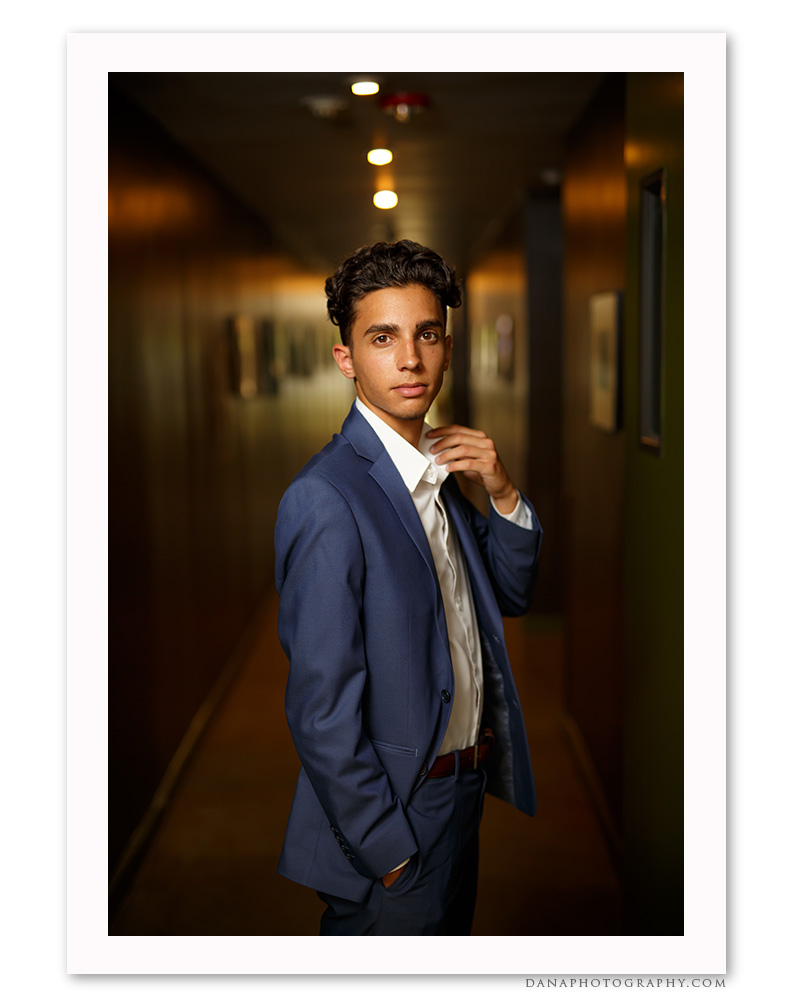
© Image by Dana Attebery Photography
When marketing your company, stock images … though they are nice and cost effective … they are generic. Others use the same ones. They don’t show “your” uniqueness. Viewers can often tell they are not the real deal.
There is something powerful when a client comes in and recognizes a person they saw in your marketing brochure. It’s a bit like getting to see someone famous. Or, when an employee gets to be highlighted with their photo in the annual report sent to donors, it can build their sense of pride and buy-in to the company. Or when customers get to see ahead of time what your location “really” looks like from the website, and aren’t disappointed and wondering “What happened?!” when they see it in person.

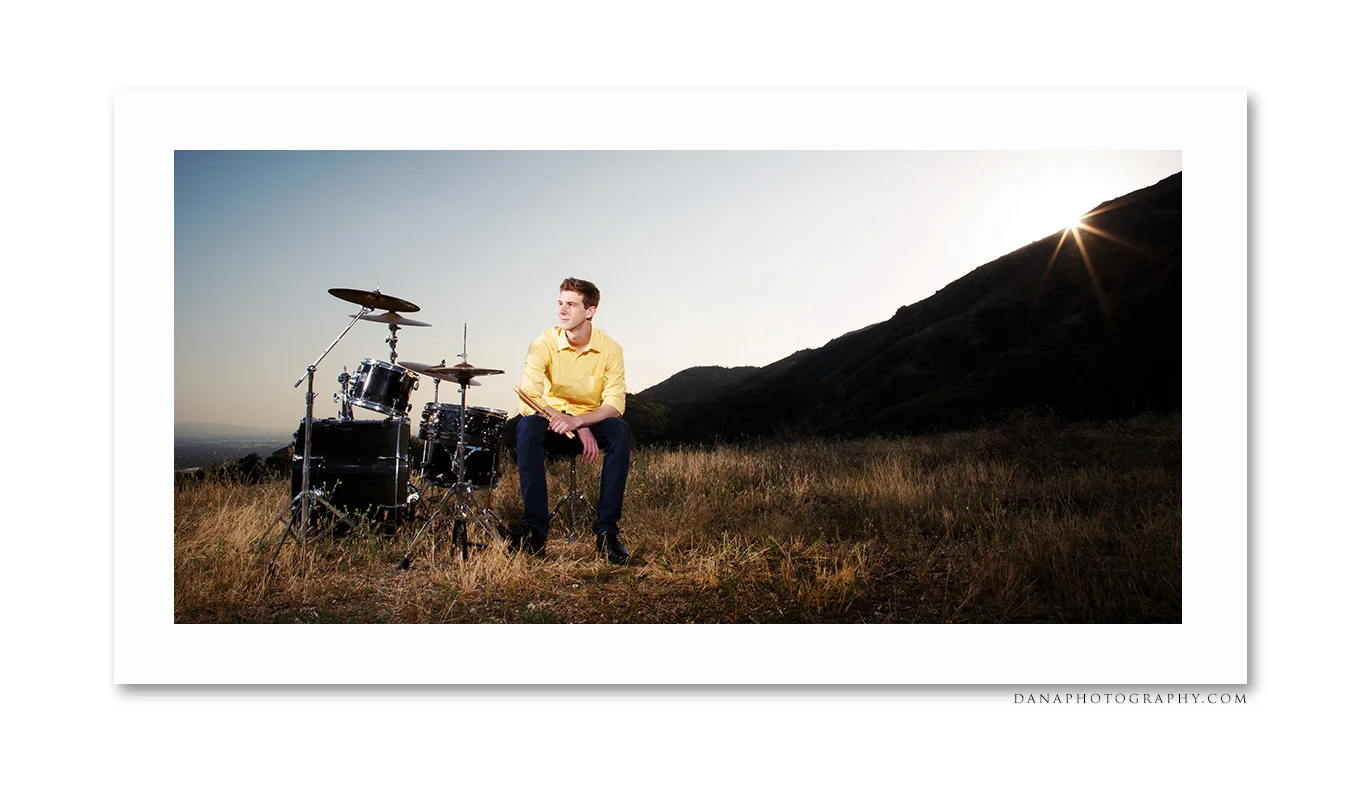
© Image by Dana Attebery Photography
I can appreciate that hiring a professional photographer brings up issues such as time pressures, budgets, scheduling, and who to photograph. And truth is, there may be times when using a premade stock image needs to be your solution, at least temporarily.
However, there is something to be said about applying and displaying the personal touch of your organization that can only be done by working with a professional photographer. Yes, it takes some time and planning, but the benefits of using an image that truly reflects who you are can speak volumes in visual capital to your audience.

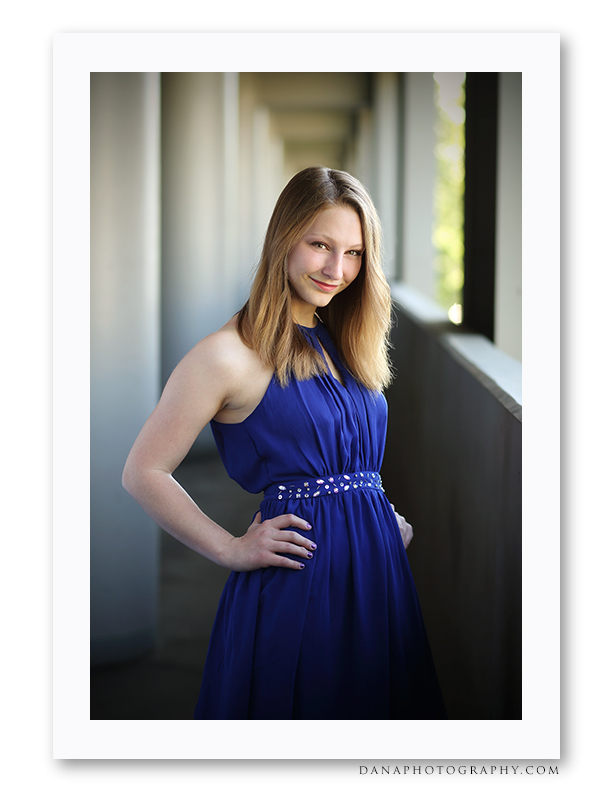
© Image by Dana Attebery Photography
When you hire Dana Attebery Photography, you will gain fresh, high quality, interesting photos that will:
Genuinely represent your brand
Be specific and unique to your environment
Highlight the REAL people that work and care for your clientele
Give your clients an advance taste of the ambiance and feel they will gain by coming to you
Reflect what you and your company do with excellence.
And … as you grow your facilities, services, and products, you can continually reflect your competence with up-to-date photos taken periodically by a photographer who understands your brand.

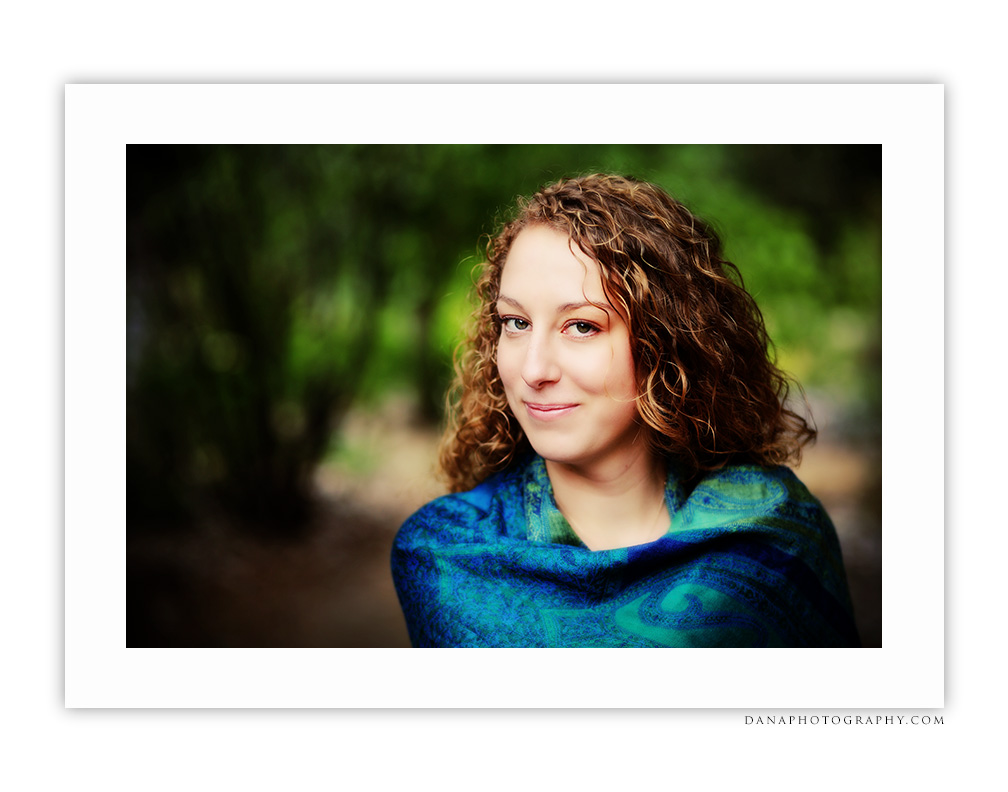
© Image by Dana Attebery Photography
Want to attract new clients and show off your organization in a bold new way? Call or email me to set up a meeting to talk over the possibilities. I can come to your location to save you (and your staff) time …
Dana Attebery Photography - serving you through portraits, headshots, product photography, commercial and editorial photography, 360-virtual tours, fine art images, and 1-on-1 lessons.
info@danaphotography.com 626-374-3638 danaphotography.com