When we say that someone has an “attitude”, that often means something negative. But “attitude” doesn’t have to be that way. A person’s attitude, per the Goggle Dictionary, implies an emotional or mental state that characterizes them.
You may be thinking, “What does this have to do with my image or my portrait?” A great deal! Like it or not, the image you show of yourself can influence others’ perceptions of who you are as well as your level of expertise. So, to capitalize on the impression a photo can elicit, before you take your next portrait, think about what “attitude” you want your image to bring forward publicly … your “image-attitude.”

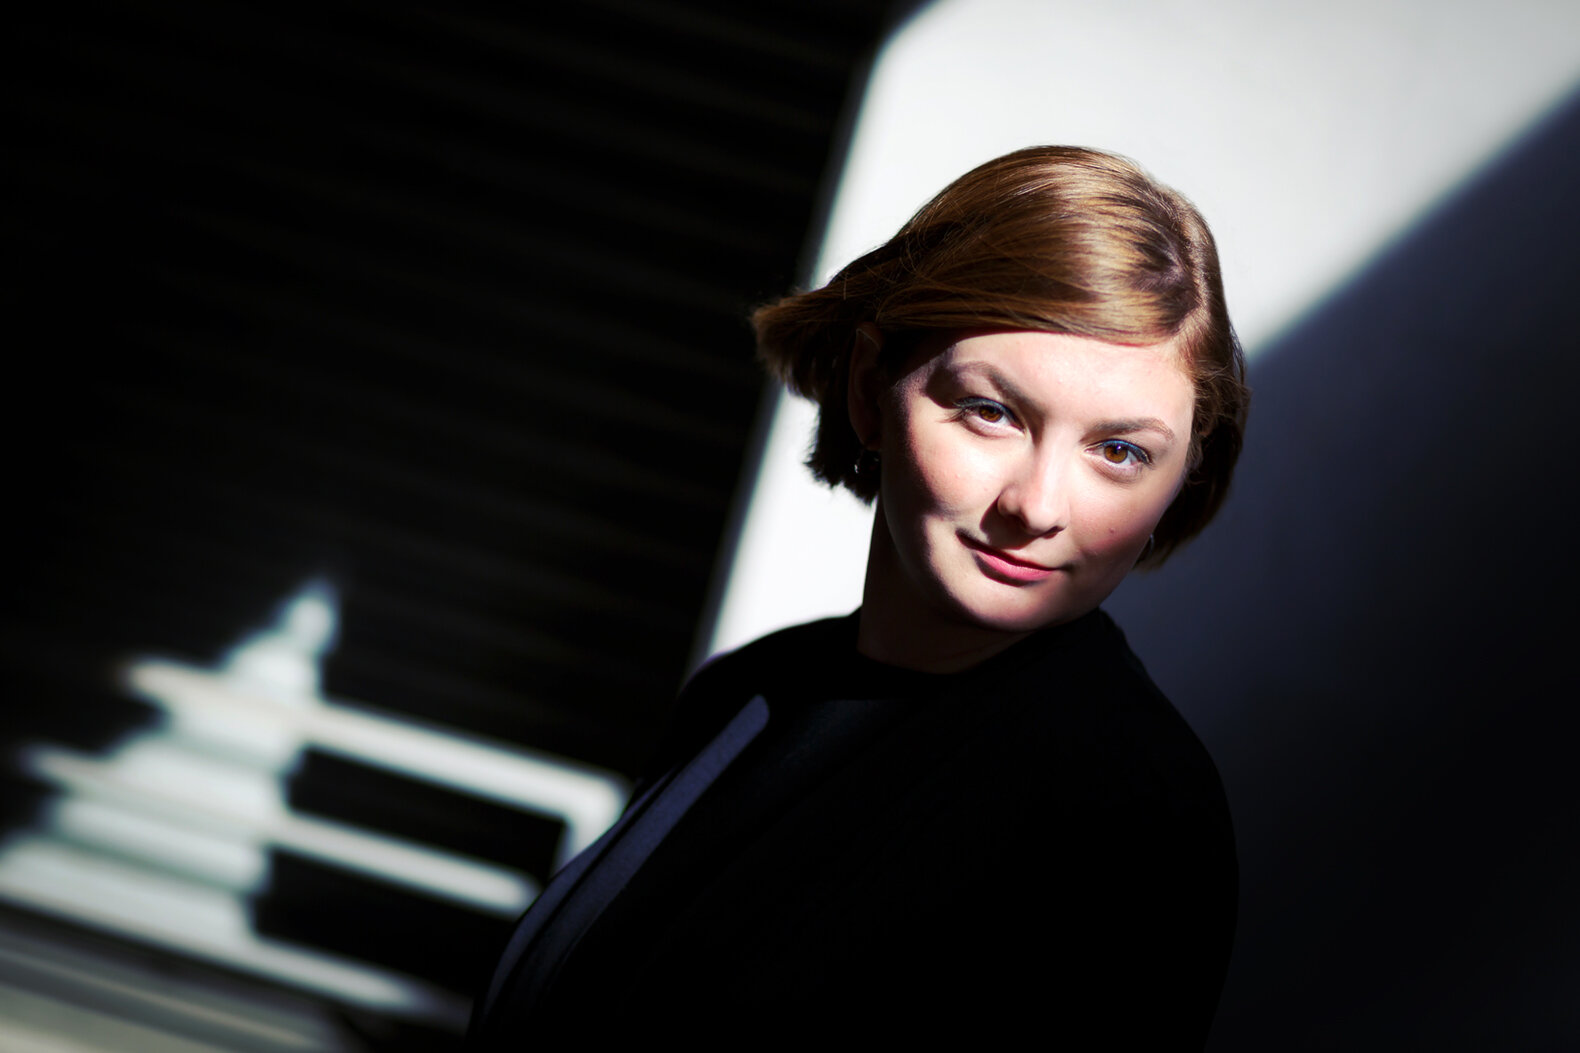
©Dana Attebery Photography

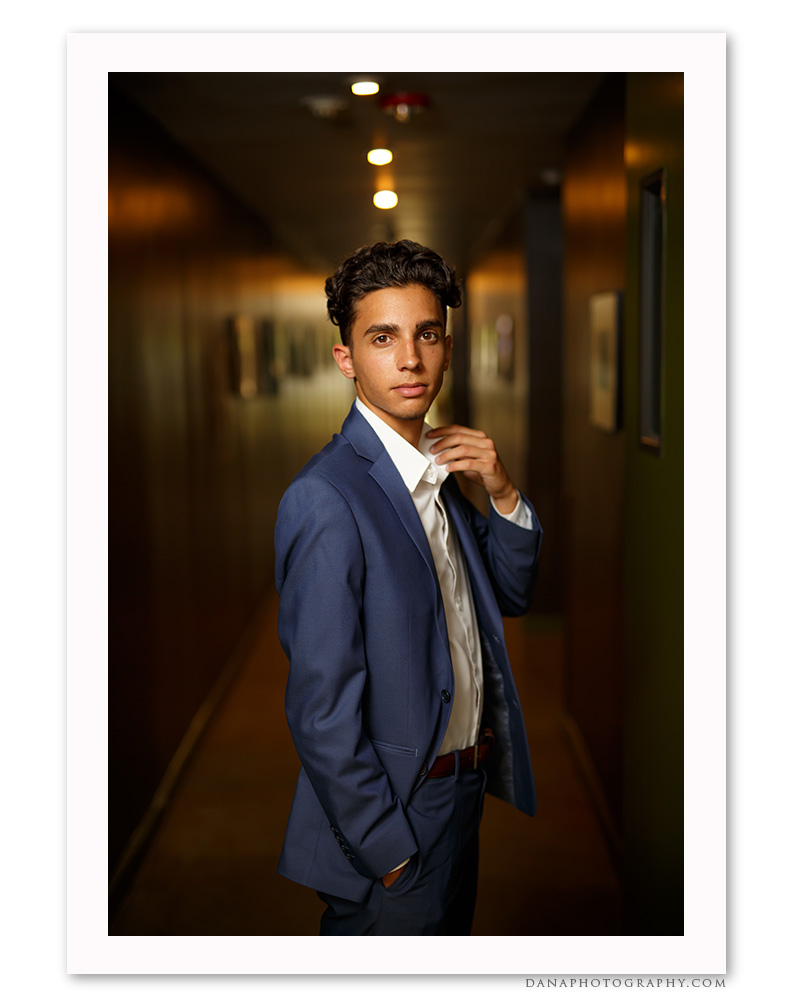
©Dana Attebery Photography
Some things to think about … For business portraits, there are options from the professional attire (formal buttoned-up look) to the business casual look. Do you want the look of a studio backdrop set up, an environmental shot within your office, or an outdoor portrait? Do certain colors of clothing make you look a certain way (washed out or energized)? Do you want to convey a smile or a serious expression? All of these options convey different attitudes which can impact how new clientele perceive you.

©Dana Attebery Photography
We can’t control what someone thinks of us, but we can influence it. Simply thinking ahead of time about the image attitude you want to convey can help you make choices in clothing, background, location, and expression. And if you are taking company-wide portraits, ensuring that everyone is on the same page with their image-attitude, can help create a unified and consistent message visually.
Dana Attebery Photography - serving you through portraits, headshots, product photography, commercial and editorial photography, 360-virtual tours, fine art images, and 1-on-1 lessons.
Thinking of rebranding your company’s image attitude with updated headshots or portraits? Call or email me to set up a portrait session. I look forward to working with you to capture the image you want to convey!
info@danaphotography.com 626-374-3638 www.danaphotography.com